
.svg)
.svg)

How to optimize fonts with FontForge
Optimize Font Files and Improve Page Speed with FontForge
FontForge is a free, open-source font editor that lets you modify font files in many ways. One of its most useful functionalities is optimizing files by removing characters you don’t need (usually, there are a lot of them).
In this tutorial, you’re gonna learn how to do it and save up hundreds of kilobytes per file, which is a decent amount when it comes to a website 😀.
As an example, we’re gonna use Inter-Regular with the size of 302KB. Remember that number, our final result will be “slightly” better 😄.
Download FontForge from https://fontforge.org/en-US/downloads
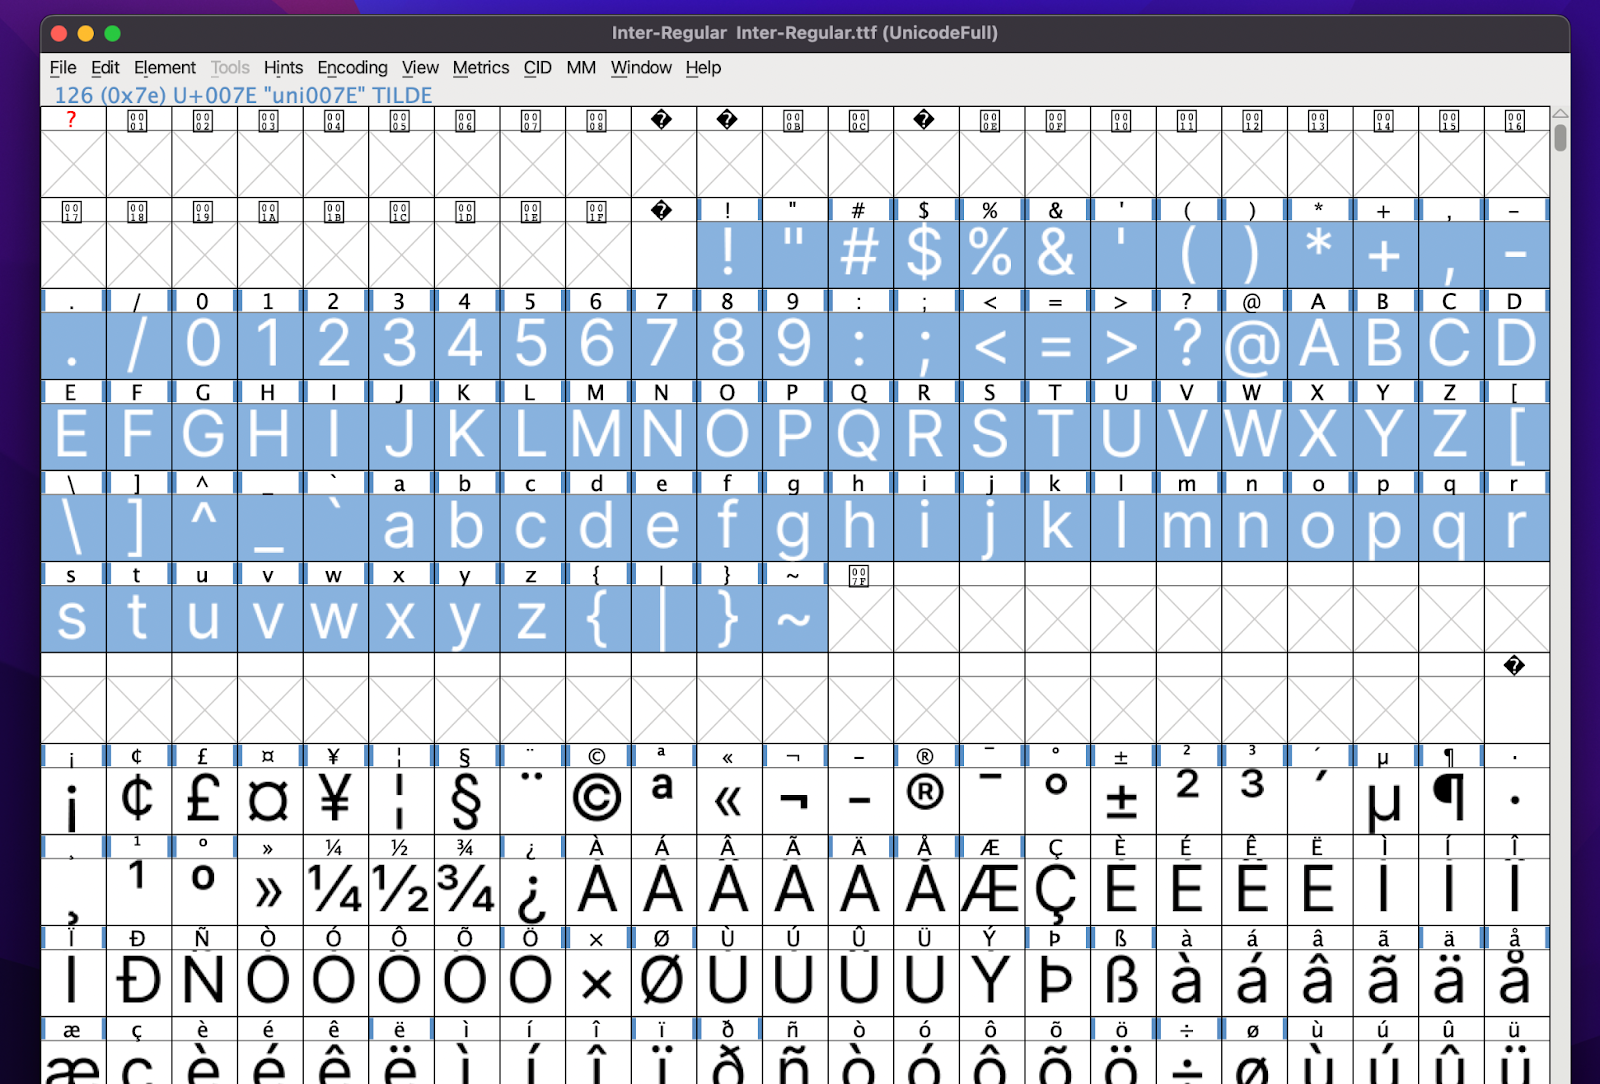
Import the font you want to optimize.

Drag the mouse and select glyphs (characters) you need in your font file. In this case we selected the English alphabet and space.
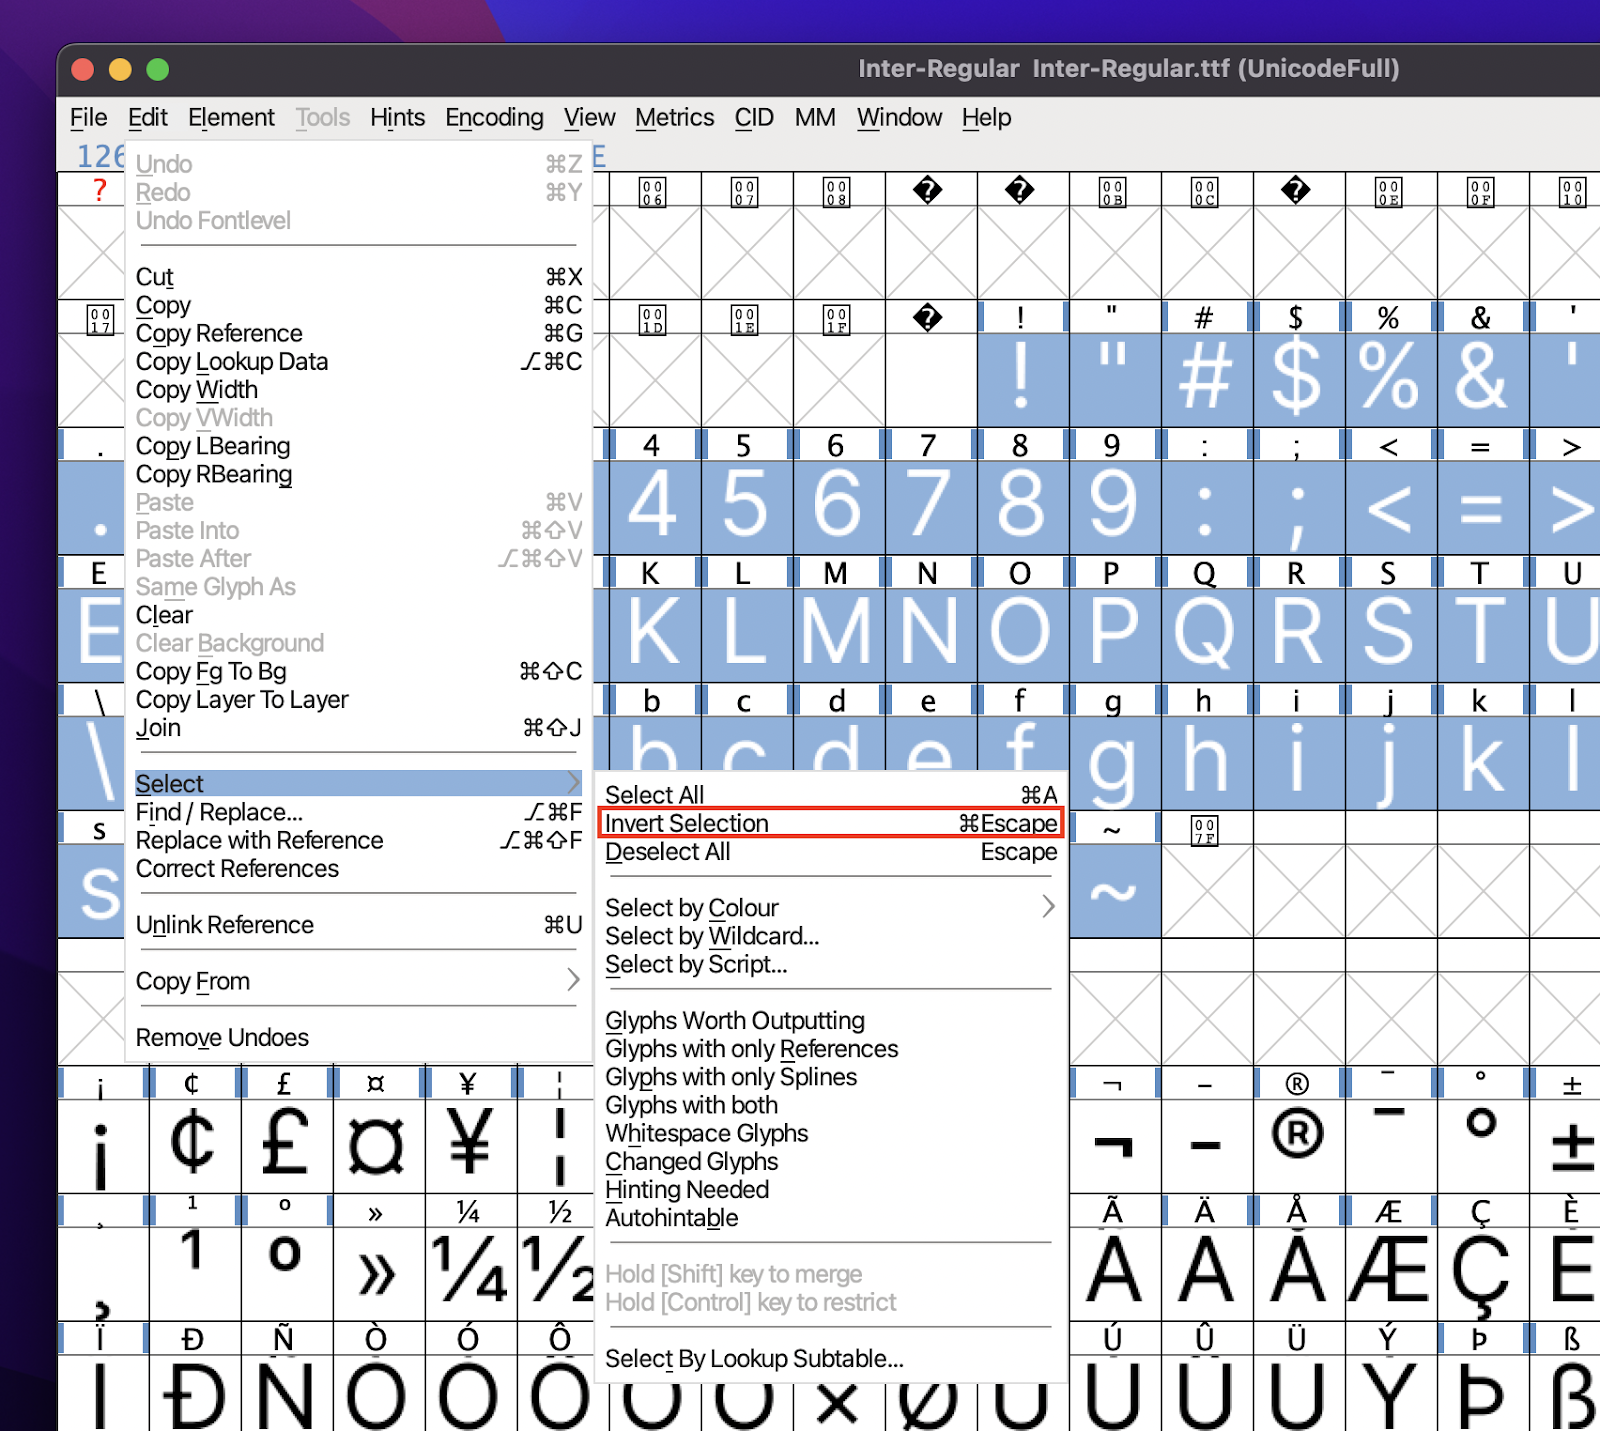
Head over to Edit > Select > Invert selection
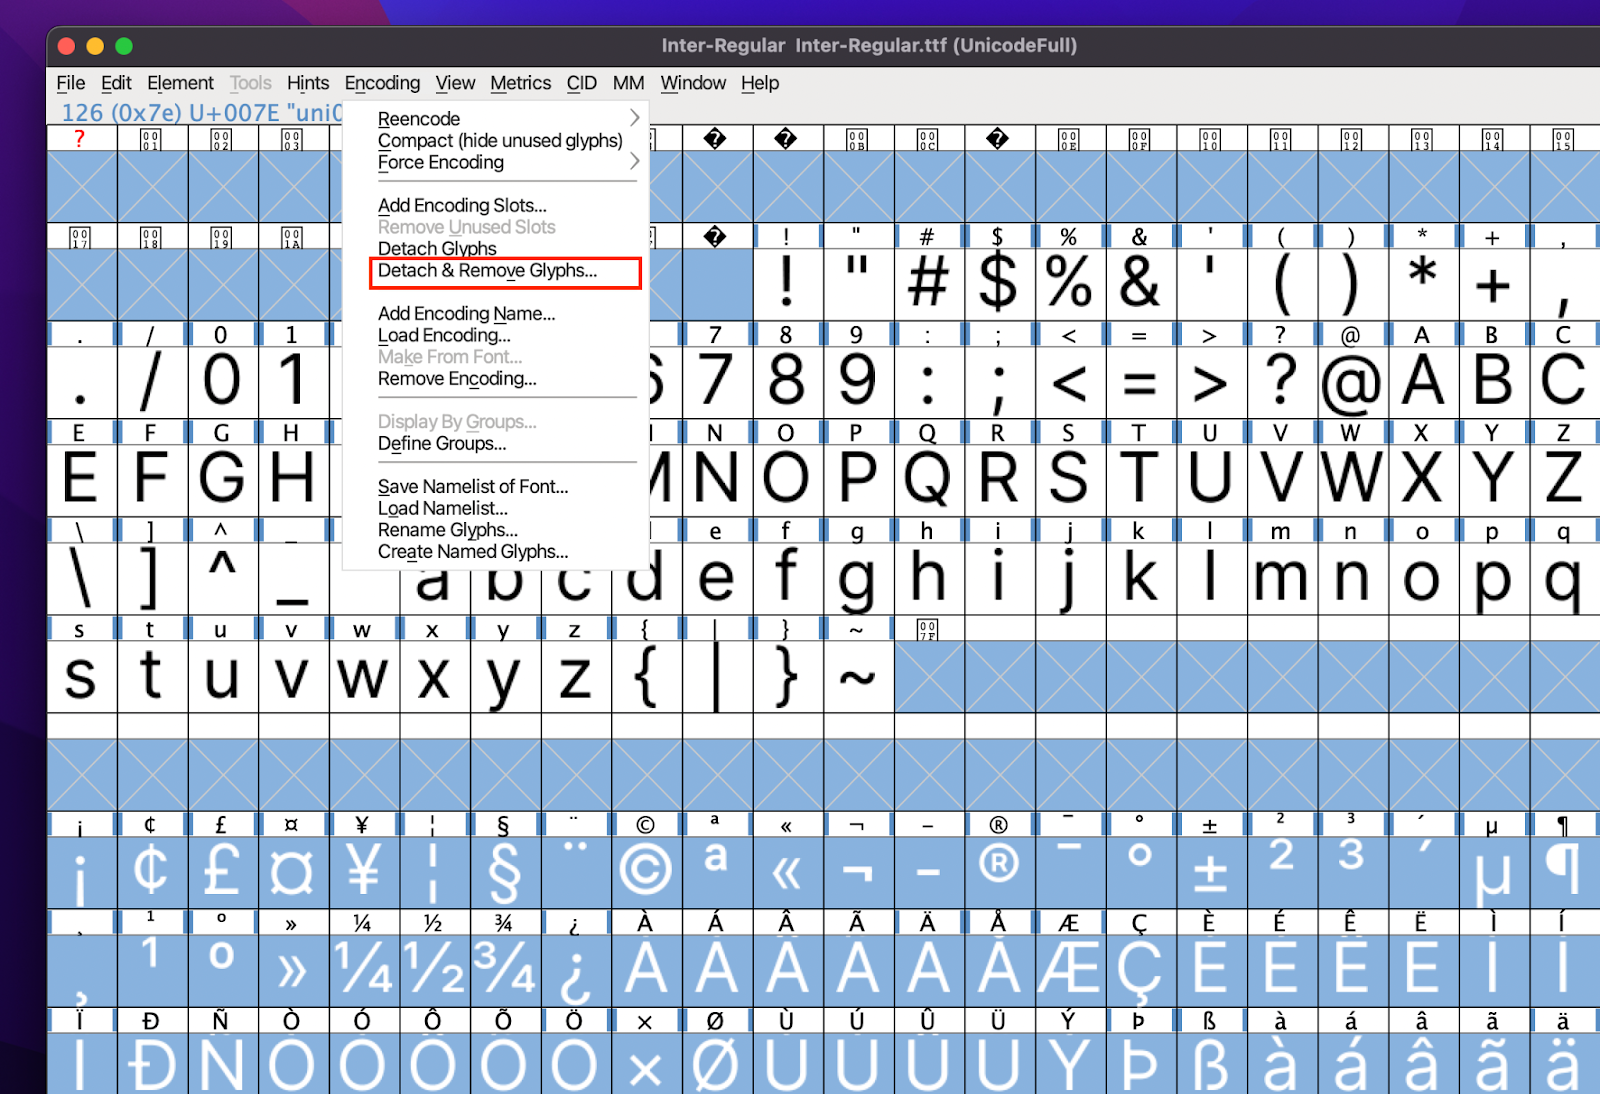
Remove selected, undesired glyphs by going to Encoding > Detach & Remove Glyphs
Almost done! It’s time to generate our file. Go to File > Generate Fonts. Make sure to choose .woff2 format, as it’s the most reliable one at this moment.
You may encounter some warning (eg. about em-size) but in most cases, you shouldn’t bother.
And done! Our file is now 10KB, which is around 30x less than the original one! If you use this tip on a website with many font weights and families, you can save up even megabytes!


